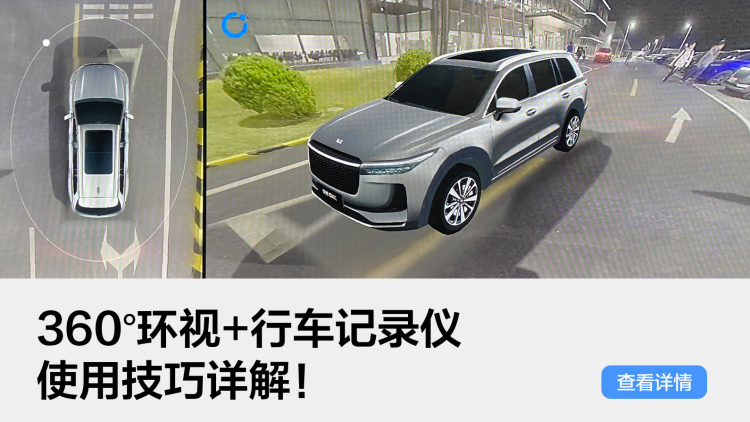
I believe many of us, like myself, have dreamed of owning an SUV longer than 5 meters as our very first car. I remember when I first picked up my car, I was overly confident in my own driving skills and thought that the 360-degree surround view feature was totally unnecessary (mainly because my previous car didn’t have this feature). As a result, I scraped the back of my car twice in a row, once on the rear bumper and once on the right-rear door. After that incident, I honestly started to use the 360-degree view and parked my car with great care. Once I got used to it, I couldn’t help exclaiming that this feature was a “real gem.”
The 360-degree surround view and dashcam are both important safety features for drivers, but during use, users may have some questions, such as what triggers the automatic activation of 360 in narrow lanes? What do the symbols above the dashcam footage mean? Under what circumstances does the dashcam activate the emergency recording function? Today, we will tell you all about it.
Anti-Scratching Artifact – 360-degree Surround View
The 360-degree surround view is an imaging feature achieved by four surround-view cameras on the vehicle body and twelve ultrasonic sensors, displaying a bird’s eye view on the center console, which helps drivers avoid scratches while parking. Before writing this guide, I specifically tried turning off the 360-degree view and seeing if I could still park my car or avoid close-range obstacles, and to be honest, it’s quite difficult, especially judging the distance between the obstacle and the car body, relying too much on the 360-degree surround view, which has resulted in a decline in my driving skills…
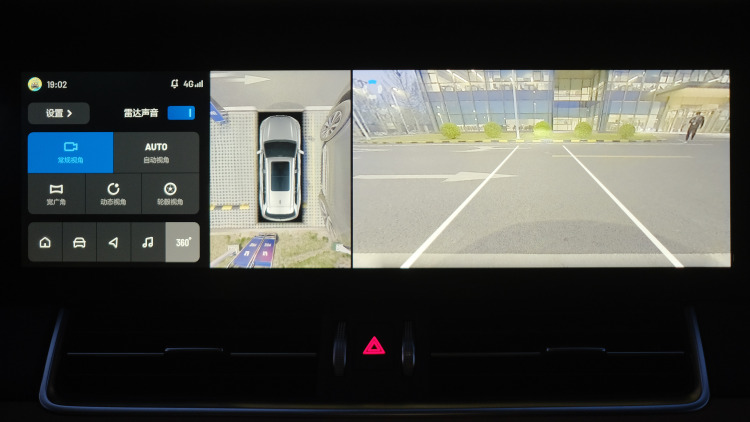
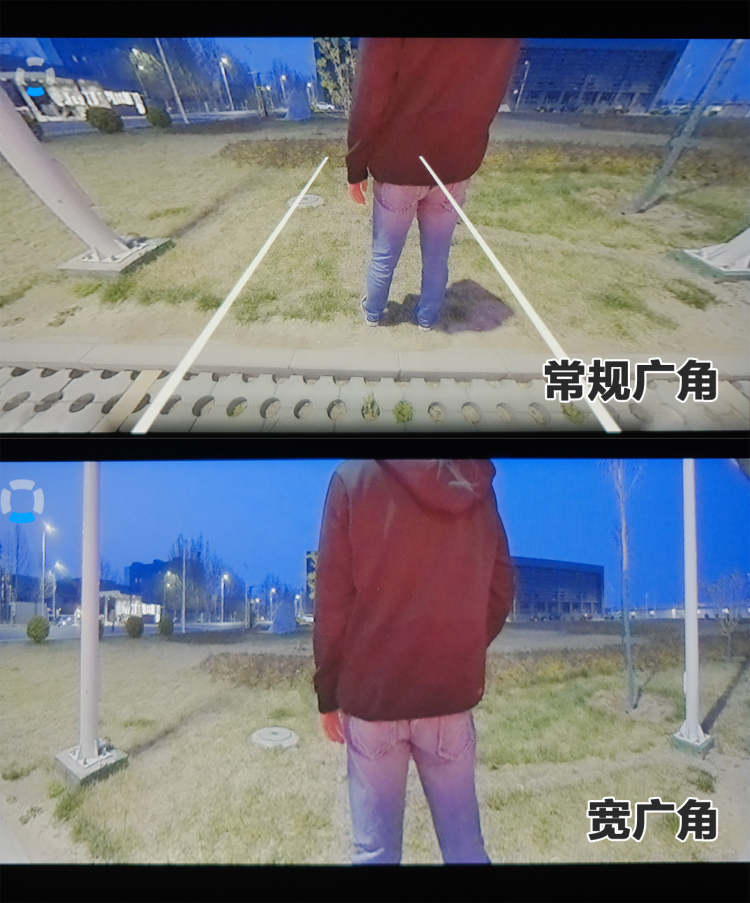
In the 360-degree surround view interface, there are five modes: Normal, Auto, Wide, Dynamic and Wheel. The Wide mode has a blind spot at close range, and the Auto and Dynamic modes turn the main screen into a model car, which I personally find a bit uncomfortable, so I recommend that everyone set it to the Normal mode (normal reverse image view) and use the bird’s eye view by default, while choosing the wheel mode in special road conditions.
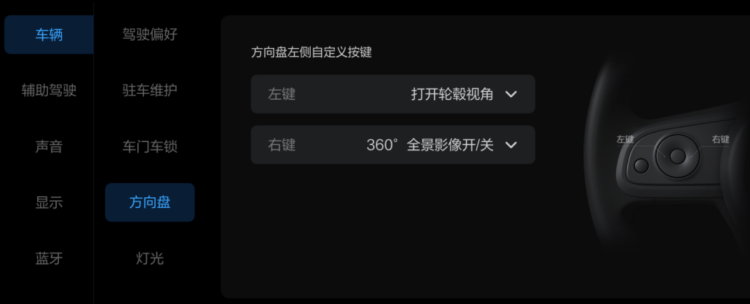
Because the 360-degree surround view is a high-frequency function, users can also bind it to the steering wheel shortcut keys, right-clicking for 360-degree surround view and left-clicking for wheel mode to avoid the need to reach for the center console.
Open the settings bar in the upper left corner of the 360 interface, where you will find five options, all of which are recommended to be kept enabled as they are very practical options.# Here Is a Reliable Assistant – Dash Cam
To prevent confusion caused by the markings in the image, take a look at the following picture.
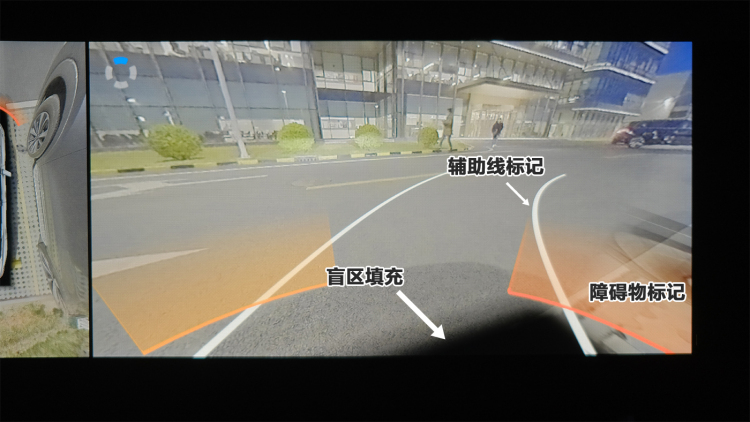
I have to praise ONE’s accurate auxiliary line markings, particularly the distance to the forward obstacle when leaving the parking space, which helps the driver a lot considering that the front of an SUV is relatively high. Based on my experience, as long as the white auxiliary lines do not touch the obstacle, it is safe to make a turn.
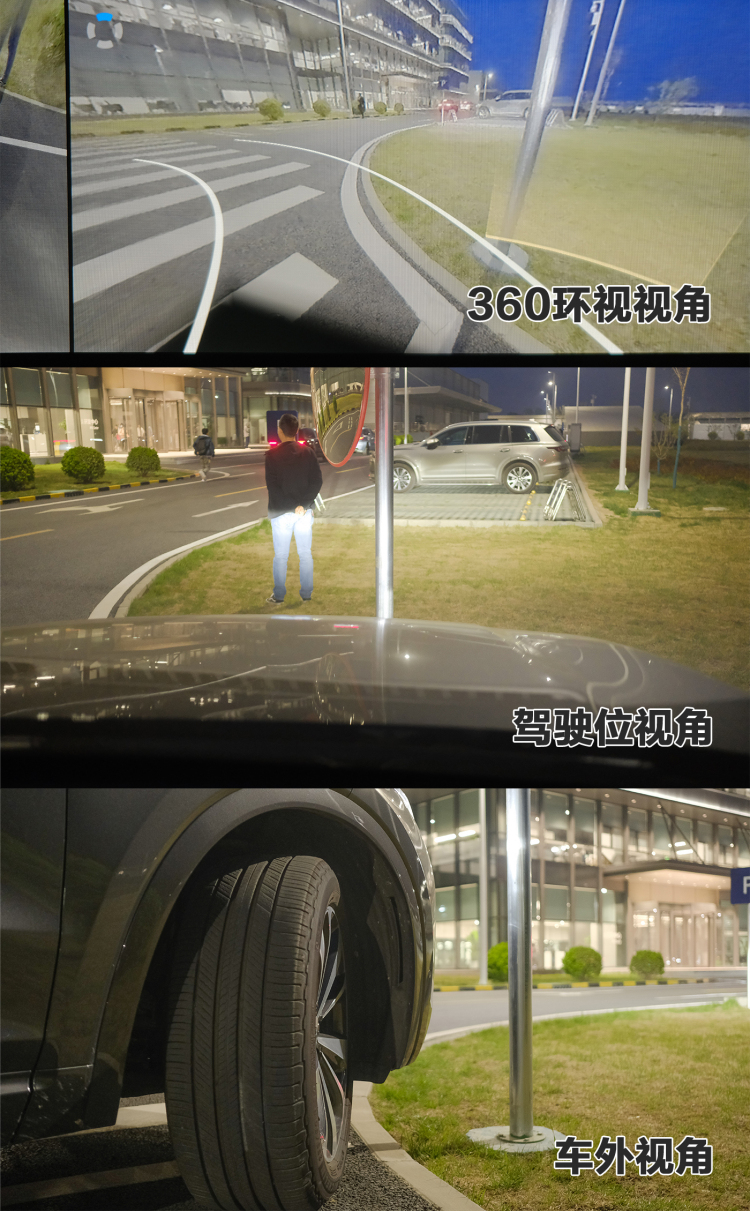
Regarding the triggering conditions for automatically turning on the recording feature on narrow roads, I consulted the product manager. The triggering condition is when the ultrasonic radar on the left front and right front of the car detect obstacles within a distance of less than one meter at the same time, which will activate a 360° panorama view.
In fact, creating a useful 360° panorama view is not easy, as it requires both smoothness and minimal image distortion, involving image fusion and algorithmic processing, and so on. The essence of smoothness is due to performance redundancy. The engineers’ strategy is to release more performance from the chip when 360° is activated to ensure its operation. Correcting the image distortion and stitching is not as easy as it seems. Although various companies have algorithms to correct the distortion, the parameters differ. We calibrated them one by one with the help of the product manager and engineers until we reached the desired location. Hard work truly pays off.
Here Is a Reliable Assistant – Dash Cam
After “will you or won’t you help” became a hot topic, tools related to driving safety, such as dash cams, have been selling like hotcakes. However, based on my previous experience of purchasing a dash cam, there are three issues with an aftermarket dash cam: tedious wire installation, blocking the view, and occupying the interface. Fortunately, ONE dash cam, which comes as standard, solves all these problems.
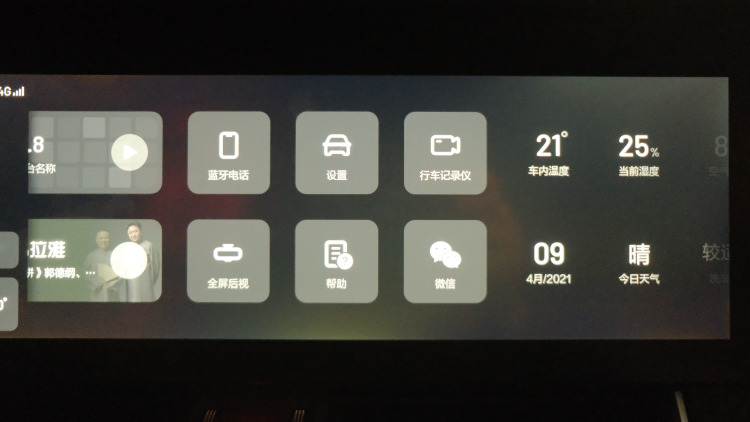
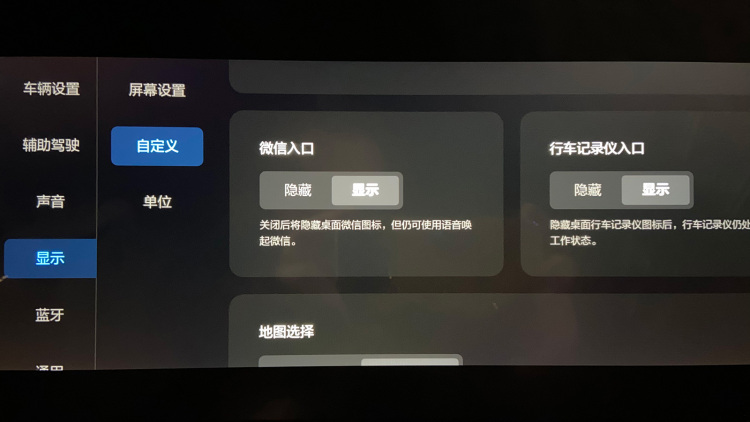
The entrance to the dash cam is on the central control screen, and you can simply slide the screen to the left to access it. If you wish to hide the entrance, go to vehicle settings – display – custom – dash cam and choose to hide or show it.
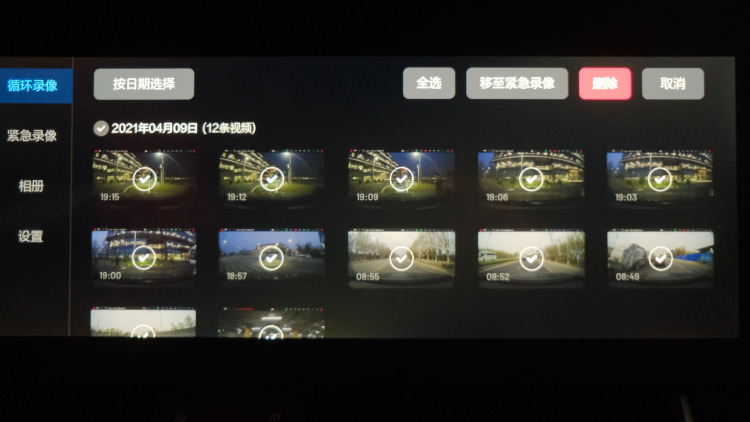
 The interface of the driving recorder is mainly divided into four main modules: loop video, emergency video, album, and settings. We provide a 32GB storage card as a gift, which can support up to 128GB. A 32GB card can store 6 to 7 hours of video recording and will automatically loop and overwrite, which basically meets the needs of most car owners. In the loop video mode, the video has been divided into segments of 3 minutes each, and the time is marked on the cover image in the lower left corner for easy reference. At the same time, important videos in the loop can also be moved to the emergency module for easy viewing.
The emergency video starts recording when the vehicle experiences abnormal acceleration, deceleration or collision. The recording content includes 20 seconds of video before and after the trigger point, which is a total of 10 seconds. This ensures that evidence is immediately available. If the video recording function is not turned on, the system will record the sound of the 10 seconds after the trigger point when the emergency video function is triggered. This provides a complete record of the emergency situation. You can see in the video below for a more intuitive understanding.
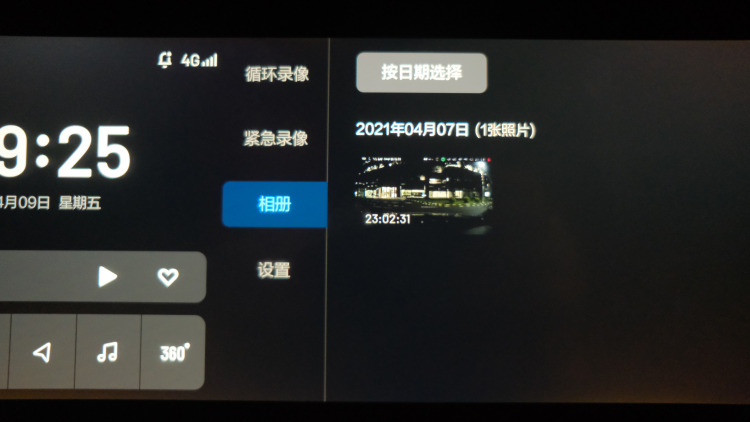
The album is mainly used for capturing images. When you drag the video and find a key frame that needs to be captured, you can directly click the camera button in the lower right corner to take a screenshot. The screenshot will then be stored in the album, which can store up to 100 images.
In the settings, there is a button for “video recording” which is generally turned off since emergency video can automatically record audio. The interface also provides a formatting button, which allows us to easily format the storage card and delete unnecessary videos in a timely manner.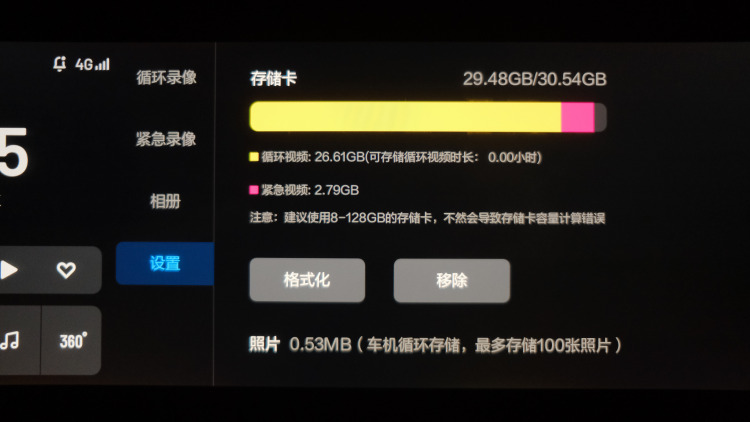
In the recorded video footage of the driving recorder, there is a row of identification symbols at the top, and I believe everyone is curious about what they represent. Please bookmark this illustration.
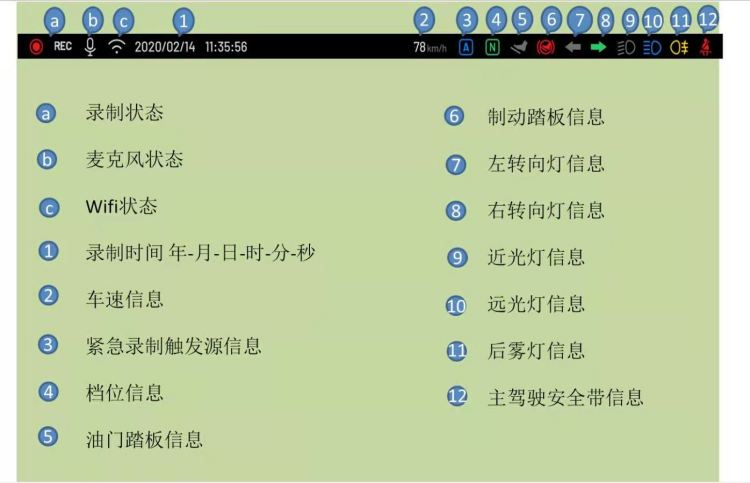
That’s all for the content of this guide. Thanks to the strong support from @梁志鹏 @崔龙飞 @郑岩 @玮颢 @铁良 @林妹妹. We hope that every car owner can drive safely and have a safe journey.
This article is a translation by ChatGPT of a Chinese report from 42HOW. If you have any questions about it, please email bd@42how.com.
